Making A Raised Dog Feeder
Making a raised dog feeder is an excellent idea if you’ve got an oversized dog at home and are looking to bring more ease and convenience into their lives. In this step-by-step tutorial, we’ll look at four different ways you can make your very own DIY raised dog feeder using materials you probably already own.
Always Check with Your Veterinarian - Raised dog feeders are not helpful to all dogs.
Tip #1: if you’re unsure whether or not a raised dog feeder or water bowl would be a good idea for your own dog, we suggest checking with your vet. Keep in mind that not all dogs are suited for raised bowls, and for some, the raised position may cause injury.
Making a Raised Dog Feeder from Old Furniture
Look around the basement, the attic, or in the garage for an old piece of furniture that you can make a raised dog feeder out of.
What you’ll need:
● An old piece of furniture (a table works well).
● Drill.
● Jigsaw.
● Pen.
● Sanding tools.
● Paint.
● Rubber pads - for stability.
How you’ll do it.
Step 1. Measure your dog bowls on top of the furniture piece, and mark it using your pen.
Step 2. Use your drill to make holes using the measurements you just made, then cut out the pieces using your jigsaw.
Step 3. Sand the surface.
Step 4. Paint the old furniture piece.
Step 5. Install some rubber pads to keep the food bowls in place, and voila!
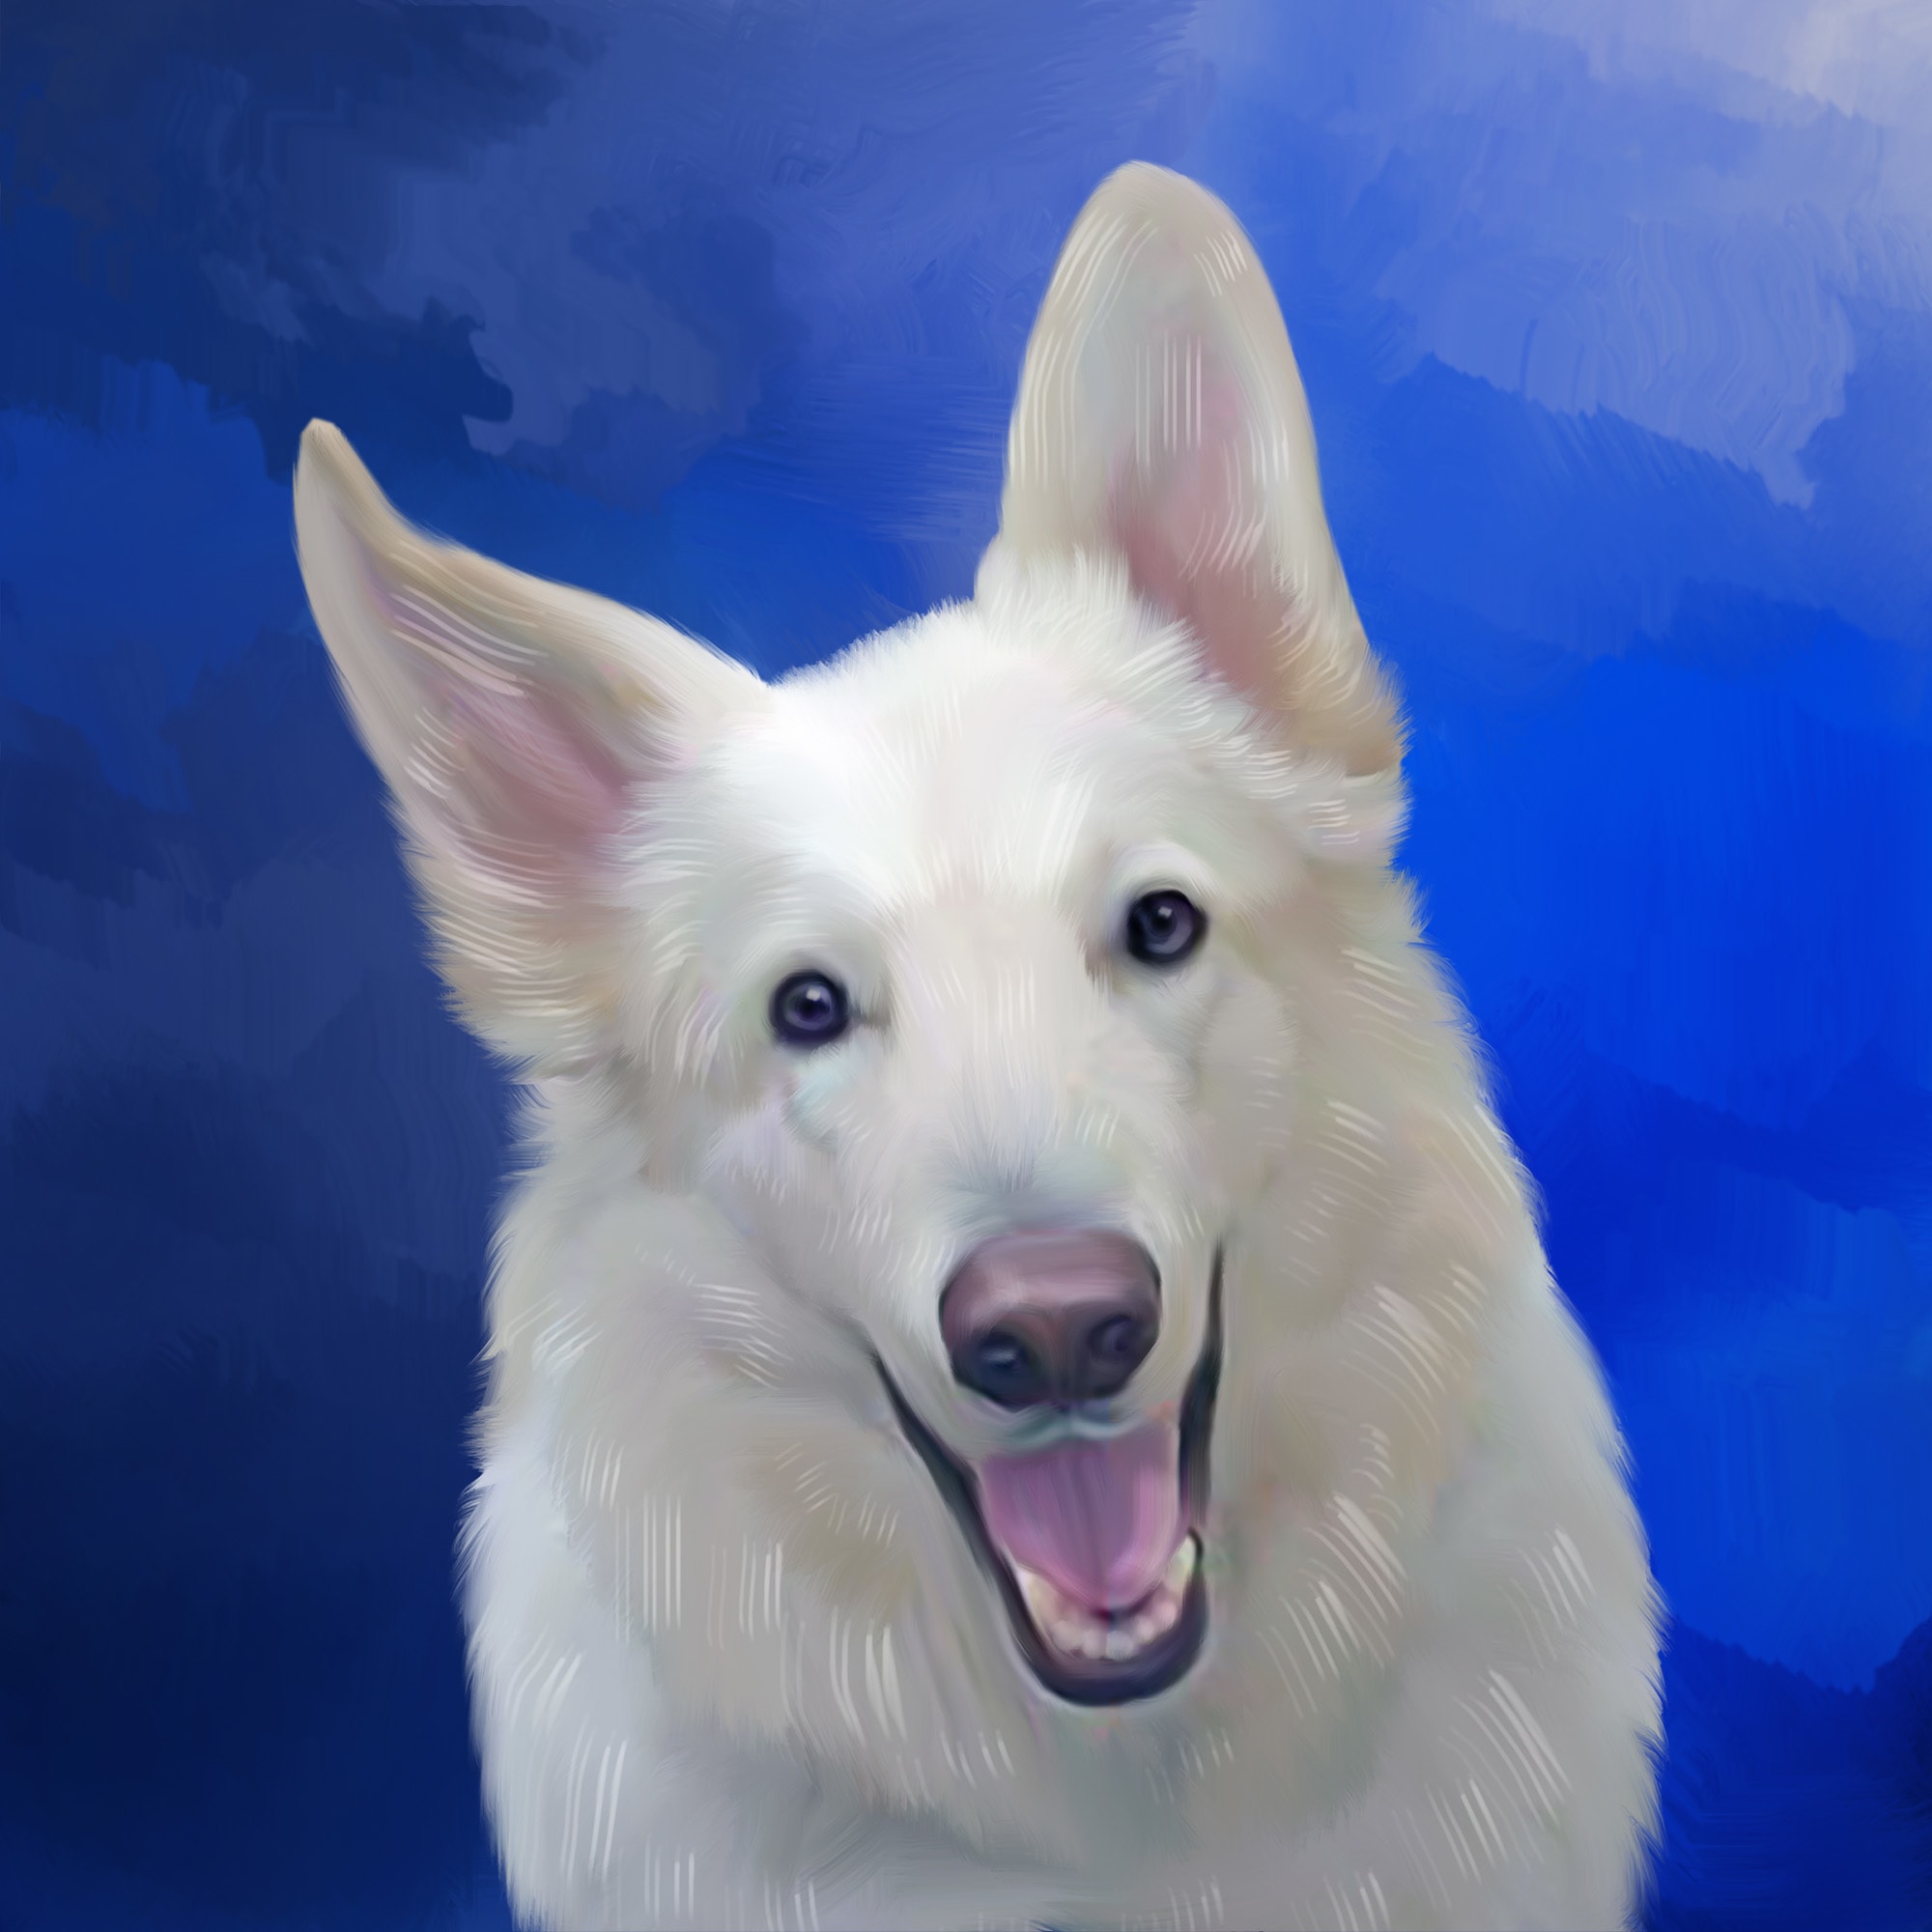
 Are you making me a raised dog feeder? I am too big to eat from this little feeding dish on the floor.
#2. DIY 5-gallon Bucket Dog Feeder & Lid
Ah ha, the old DIY 5-gallon bucket dog feeder with lid. This idea for a raised dog feeder or water bowl is very similar to the first one we did, but a little easier, maybe, since it’s easier to cut through a plastic bucket than a wooden piece of furniture.
What you’ll need:
● 5-gallon bucket with lid.
● Drill.
● Jigsaw.
● Sanding tools.
● Pen.
● Extra water.
How you’ll do it:
Step 1. Measure the size of your bowl over the lid of your 5-gallon bucket.
Step 2. Use your drill to mark holes into the shape on your lid, then use your round-bladed jigsaw to safely remove that part of the top of the bowl.
Step 3. Of course, you’ll want to sand the area where you used the jigsaw to prevent your canine from getting injured.
Step 4. Place some extra water (or weights) inside the bucket to keep it from toppling.
Step 5. Close the bucket and place your pet bowl in the hole.
# 3. The Old Making a Raised Dog Feeder from a Plant Stand Idea
#3. Plant stand feeder.
What you’ll need:
● An old plant stand.
● Weights (Optional).
How you’ll do it:
This is a super easy idea for making a raised dog feeder that doesn’t even have multiple steps. You simply find a plant stand of an appropriate height for your dog and use it to set their feeder or water bowl in or on. You might want to use weights if the stand is exceptionally lightweight so that it doesn’t topple easily.
It’s not a fancy modern or automatic dog feeder, and it certainly doesn’t come with a camera or a challenging puzzle, but it does raise your dog’s food dish.
#4. Making a Raised Dog Feeder with An Upside-down Terracotta Pot
Now you are really thinking like a full-blown repurposing DIYer. An upside-down terracotta pot feeder will absolutely stand in as a raised dog feeder, and I love the homemade vibe you are sending off. Make sure this pot has a nice hefty weight to it.
What you’ll need:
● Terracotta plant pot.
● Terracotta saucer.
● Terracotta glue.
How you’ll do it:
Just make sure you choose a terracotta pot of the appropriate size! (unless you were lucky enough to find one in the garage or garden shed) Simply glue the saucer on top of the upside-down plant pot, and that’s it. If you like, you can even skip the pot, using an upside-down terracotta pot to prop your own pet bowl.